RomanDA's DekstopX Tutorials:
My goal is to make a set of tutorials for DekstopX. If you have ideas on what you would like to see, please email me at DXTutorials@RomanDA.org
Time/Date & more - PART 1:
I have been asked about a dozen times how to get this or that date info into an object. So I will try and cover that here.
This is not my typical tutorial, this will be a STEP-BY-STEP Creation of a widget, not just some code.
DOWNLOAD THE ZIP FILE FOR THIS TUTORIAL FIRST!
DekstopX can use JavaScript or VBScript as its language, I am a LOT more familiar with VBScript then JS so that is what I use.
As always, I'm sure there are other, if not better ways to do this, but this is my way.
| The Players: |
| |
Here are the objects we will be setting up:
(forgive me Danniloc as some of this was from our conversation - the graphics are mind but look like the one your working on): |
| |
 |
BASE Object:
This will have the text objects a children as well as run the script. |
| MonthName |
Month object will show the current month |
| Date |
Date object will show today's date |
| Year |
Year object will show the current year |
| DayOfWeek |
Day Of Week object will show the current day of the week in text form "Monday" "Tuesday" etc. |
| Time |
Time object will show the current time. | |
Creating the Objects: |
| |
For those of you that have never used DX this is not hard, I will walk you through creating the above object.
LOAD DekstopX and go into the CREATE mode:
* if you do not have DekstopX (builder) you will need to download it. |
| BASE OBJECT: |
| |
Create the BASE object by |
| |
 |
RIGHT-CLICK on the DekstopX Icon in the system tray.
Select "New object"
<-- See this for more info |
| |
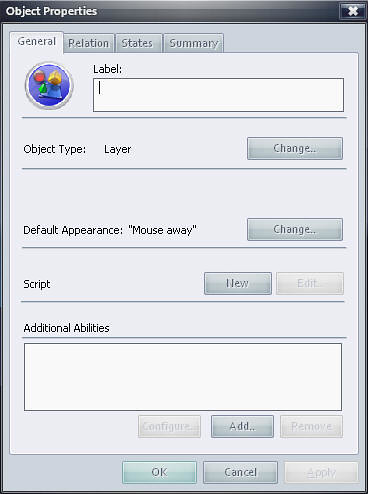 |
The Object Properties Dialog will show up.
Click the "States" Tab |
| |
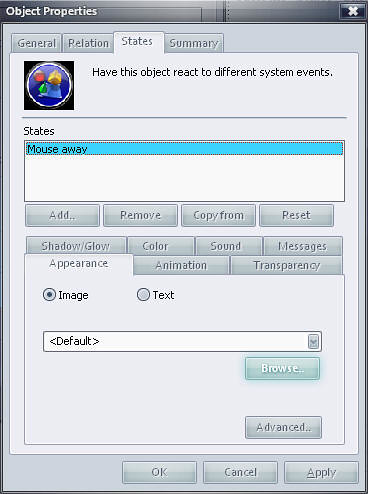 |
Click the "Browse" Button. |
| |
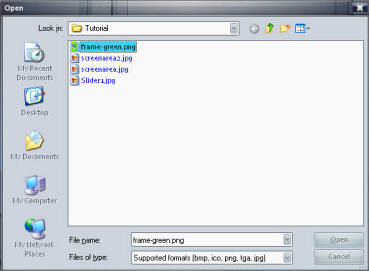 |
Select the "Frame-Green.png" File from the 6-DateWidget.zip file here.
Select "Open"
Click "OK" in the "Object Properties" Dialog box. |
| |
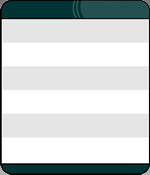 |
You should now see your FRAME or BASE object.
|
| |
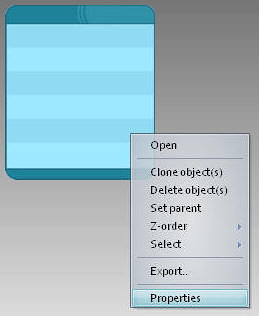 |
RIGHT CLICK on this object and select "Properties". |
| |
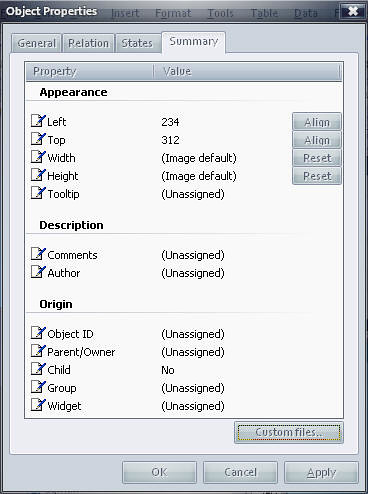 |
In the Object Properties dialog, select the "Summary" tab
In here we will change the following:
Object ID: BASE
Group: DateWidget
Widget: DateWidget
If you want you can add your name to the "Author" Section.
When done editing these, click the "OK" Button. |
| OTHER OBJECTS: |
| |
We will follow the same above steps to create the TEXT objects but there will be a few minor change.
I'm not going to re-post all the same images, see above if you get lost.
DayOfWeek Object |
| |
|
RIGHT-CLICK on the DekstopX Icon in the system tray.
Select "New object" |
| |
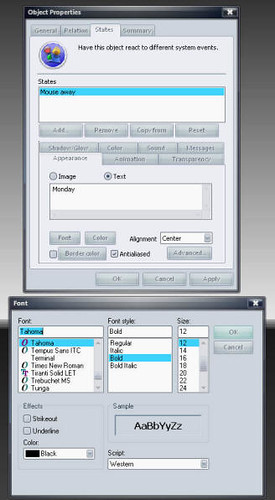 |
Select the "States" Tab
In there select "TEXT" not "IMAGE" from the Appearance Tab.
Type in "Monday" in the provided text area
Select Alignment: CENTER
Click on Font and select a font you like, I like Tahoma, you can pick whatever you want, be advised the size, and font will make some of the next screen shots look strange, for now pick Tahoma and 12 and bold, you can come back later and change it.
Select OK on the Font Dialog.
Select the Color Button, select a dark color something that will look good on the white background (or gray), I'm picking a dark gray.
Select OK in the Color dialog box
|
| |
|
In the Object Properties dialog, select the "Summary" tab
In here we will change the following:
Left: 0
Top: 20
Width: 150
Height: (image default)
Object ID: DayOfWeek
Parent/Owner: BASE
Child: YES
Group: DateWidget
Widget: DateWidget
When done editing these, click the "OK" Button. |
| |
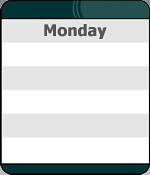 |
This should be your new widget
Congrats, its beginning to look like something. |
| |
MonthName Object |
|
| |
Follow the exact same steps from above except this time you will put in:
"August" in the text area, and the following in the Summary Tab: |
| |
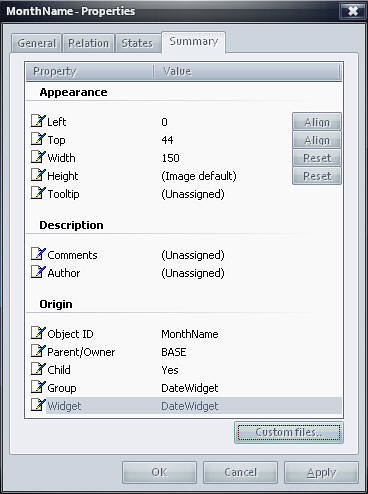 |
In the Object Properties dialog, select the "Summary" tab
In here we will change the following:
Left: 0
Top: 44
Width: 150
Height: (image default)
Object ID: MonthName
Parent/Owner: BASE
Child: YES
Group: DateWidget
Widget: DateWidget
When done editing these, click the "OK" Button. |
| |
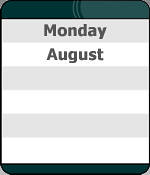 |
Your new object should look like this now. |
| |
Date Object |
|
| |
Follow the exact same steps from above except this time you will put in:
"16" in the text area
Make the font 14 not 12
and change the following in the Summary Tab: |
| |
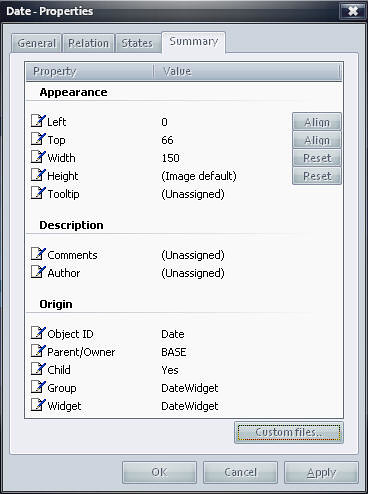 |
In the Object Properties dialog, select the "Summary" tab
In here we will change the following:
Left: 0
Top: 66
Width: 150
Height: (image default)
Object ID: Date
Parent/Owner: BASE
Child: YES
Group: DateWidget
Widget: DateWidget
When done editing these, click the "OK" Button. |
| |
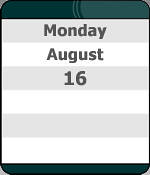 |
Your new object should look like this now. |
| |
Year Object |
|
| |
Follow the exact same steps from above except this time you will put in:
"2006" in the text area
Make the font 12 not 14
and change the following in the Summary Tab: |
| |
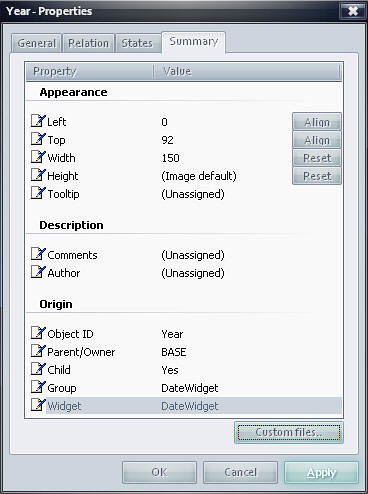 |
In the Object Properties dialog, select the "Summary" tab
In here we will change the following:
Left: 0
Top: 92
Width: 150
Height: (image default)
Object ID: Year
Parent/Owner: BASE
Child: YES
Group: DateWidget
Widget: DateWidget
When done editing these, click the "OK" Button. |
| |
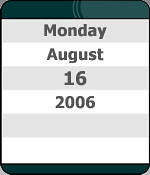 |
Your new object should look like this now.
See we are getting there.
IF you have done everything correct up to this point, you should be able to "DRAG" this around, and everything should move as 1.
If something moves that shouldn't you will need to RIGHT-CLICK on that object, hit Properties, then make sure that the Group and Widget are both "DateWidget". then check it again. |
| |
Time Object |
|
| |
Follow the exact same steps from above except this time you will put in:
"10:16 am" in the text area
Make the font 12
and change the following in the Summary Tab: |
| |
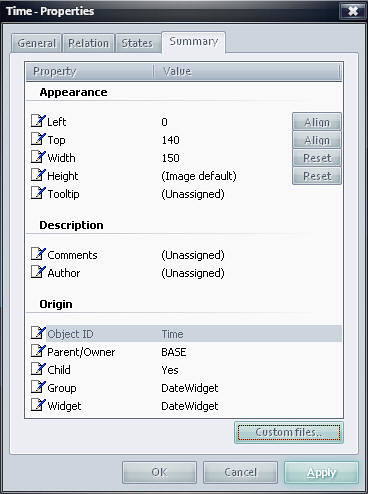 |
In the Object Properties dialog, select the "Summary" tab
In here we will change the following:
Left: 0
Top: 140
Width: 150
Height: (image default)
Object ID: Time
Parent/Owner: BASE
Child: YES
Group: DateWidget
Widget: DateWidget
When done editing these, click the "OK" Button. |
| |
 |
We are now done creating objects.
Your widget does nothing at this point except show the text we put into it.
Its time to start making this thing WORK. |
Please look at Part 2 for the continuation of this tutorial, and PLEASE let me know if you find these useful.